CONTEMPORARY E-BROIDERY

Embroidery in art is a wide-ranging technique. Over the last few years, a new generation of textile and mixed media artists have been honour traditional techniques but use them in combination with more contemporary mediums or methods to create artwork that is original and refreshing. Today, traditional crafting techniques can be interwoven with new materials such as conductive ink, fabric, thread and more to generate “soft” interfaces. This allow so many artists to explored the marriage of traditional embroidery and electronics.
.

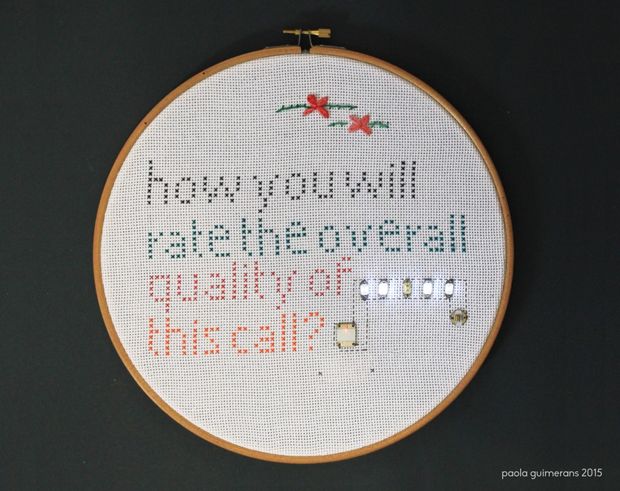
This tutorial will show you how to combine traditional embroidery techniques with a few common electronics components. The goal is to explore and discover possibilities and techniques to create simple sound effects that can be coordinated with your LEDs, but also to build-up your skill-set for working with e-textiles.
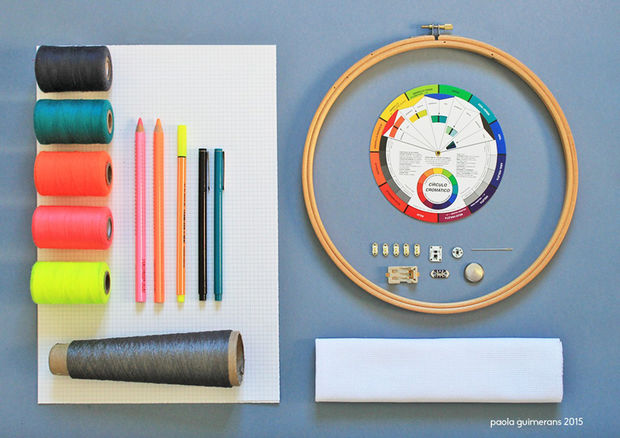
- Aniomagic sparkle sound kit
- Sewable battery Holder
- Sewable switch
- Embroidery hoop
- Conductive thread
- Embroidery thread
- Lithium 3V Batteries Size
- Cross stitch fabric
- Embroidery needle
- Color Markers
- Artists Color Wheel
- Mixing Guide
Step 1: Let’s Start!
.
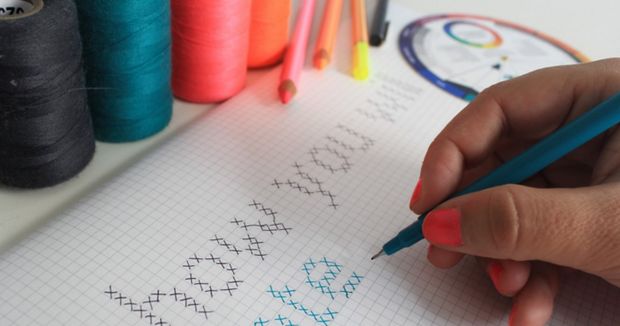
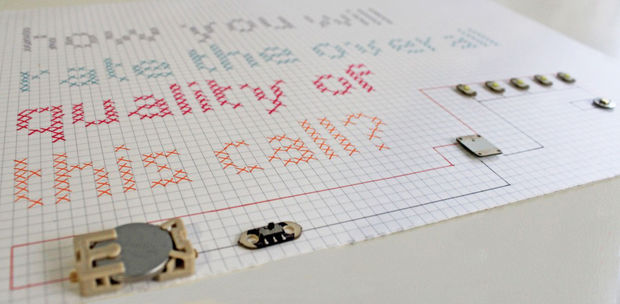
Creating a cross stitch embroidery with an integrated electronic textile ( e-textile). It’s necessary to know what would be the stiching like before starting adding light and electronics components to the fabric. Then, we will draw the across-stitch pattern and sketch the circuit on a graph paper.
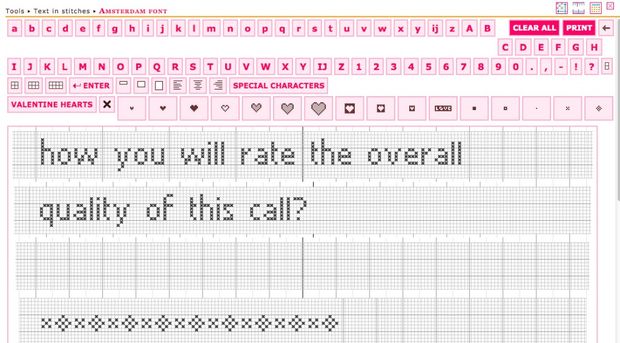
Optional : We could also use a cross stitch pattern generator or a Cross Stitch Writing Tool


//
Before beginning the cross stich embroidery, also we should check how to work aniomagic sparkle sound kit in order to explore new ways to build soft interactive textiles. Specially, if we do not have absolutely no previous experience with e-textiles.
Also,choosing the right color of embroidery thread can make or break a design. We could use the color wheel to find the perfect color scheme.Remember that you will embroidering with conductive thread in order to create a design that are circuitry. Keep in mind that when you use conductive thread electricity becomes a medium of the visual arts.
Please double check how to connect the aniomagic tutorial before to start to sew.
.
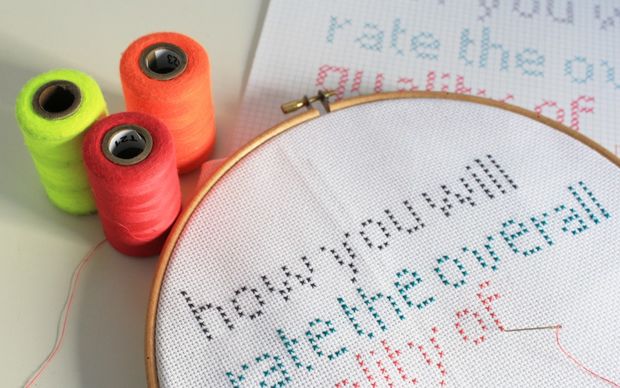
Position then tighten your embroidery fabric inside your hoop, knot your thread, and you’re ready to begin.
Start from the back and poke up your needle, then push it back down again. Repeat with a diagonal stitch the other way so you have got a little ‘x’. When you’ve finished a colour or section, cut the thread and tie a neat knot at the back.
.
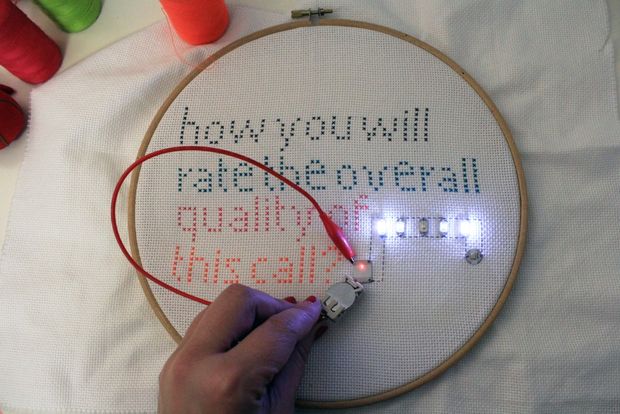
When you finish, knot off on the back to keep your stitches in place. You may need to reposition the fabric to center your design.The aniomagic Sparkle Sound Kit will make your artwork interactive by sensing sounds (like music) and reacting to them. Once it’s in the desired position, cut excess embroidery fabric, turn on the circuit and then display!
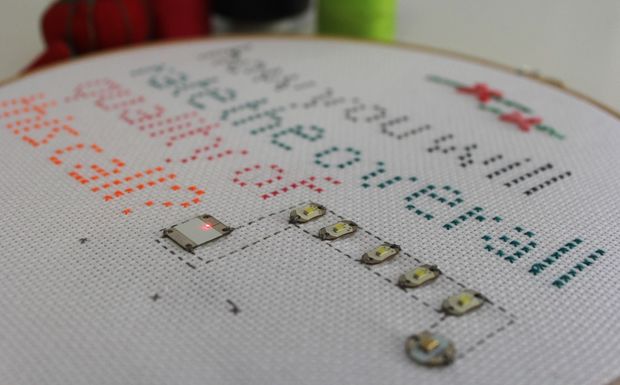
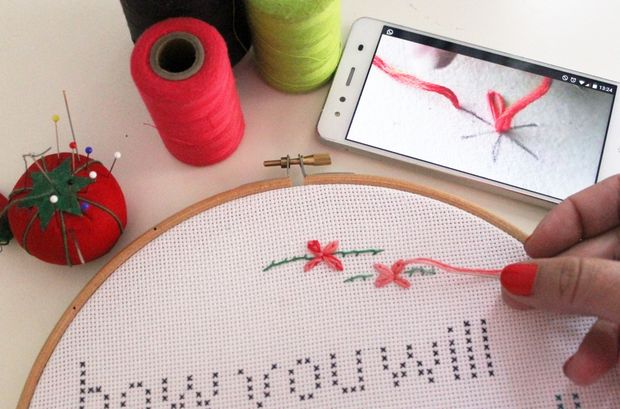
Additionally, you can check some hand embroidery stitches tutorials to complete your e-textile project.
